I called this project 'Magic Squares', starting with a humble 'Charm pack', in my case: 1 print Ch p. plus 1 plain white Ch.p. it looks like an intricate work but it isn't .
As many of my inspired Quilt, I found this one in Missouri Star Quilt Co. whom I'm subscribe, I felt in love since I saw this pattern
I would like to explain here, in case you like it .
1/ As said I only use, so far , 2 Charm Pack : 1print and 1 plain white cotton fabrics
For this project I would like a Table topper or bedspread decoration at bottom bed
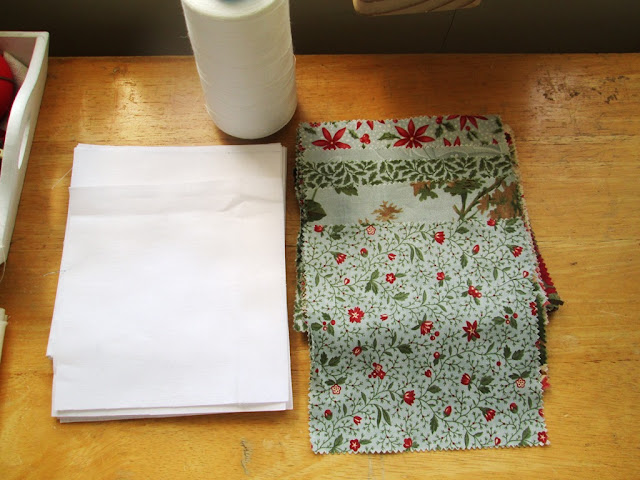 |
| 5 " squares called Charm Pack |
2/ Sewing together face to face 1 print 1 white sq. all around the square :
3/ After that : cut diagonally , 2 diagonals
4/ Put aside in piles : 2 of them joining 2 prints squares and a pile with 2 of them joining white
as shown next pic
 |
| First separate into 2 piles 2 of the 4 HST you get cutting sq. |
5/ You have now 2 piles, proceed to join as said : sewing 2 faced prints and sewing 2 faced white
6/ To show what I mean I joined same prints but actually what I made was to sew randomly prints HST to get variety in a single block, 1 Block = 2 rectangles so far
 |
| 4 different prints in same bloch |
7/ Trim ears and excess to get accurate rectangle, press all the sew allowance same direction
Randomly
8/ You will have now 2 piles : 1 pile rectangle join prints and 1 pile rectangles joined by white
Next step for the layout in the block it is join 2 rectangles (4 HST) one of each as it shown next pic
IMPORTANT all of them the same direction you will join 4 of them in a clockwise pattern to complete the block of this project.
Made all the same direction, is important to achieve the correct complete Block
Be careful when pressing HST you can make it bigger :-))
Photos do not honour such nice prints fabric, they are gorgeous !
By join 4 Block together appears in the center a new shape : a diamond !! isn't it amazing ?
I hope it will be interesting for you ! I will show you in next post how will be finished .
Have a nice week , and happy sewing you all !
Here finished , charm rustic adorable Magic squares (giggles)


